Well the first episode of small electronics projects I run and built at home in spare time. First time I ever document something like this so I might miss out on a few pictures here and there. If you all like it I will make more of current and future projects (probably with more pictures too then). So have fun reading and let me know what ya think

.
The idea started actually already a few years back at work, we got promised “1-push-of-a-button” generation of technical documentation. Well the software didn’t work like that but I still wanted to have 1 button to do all kinds of funny things. As I am also a bit too lazy reprogramming the controller every time, I wanted to use DIP switches to choose between different actions.
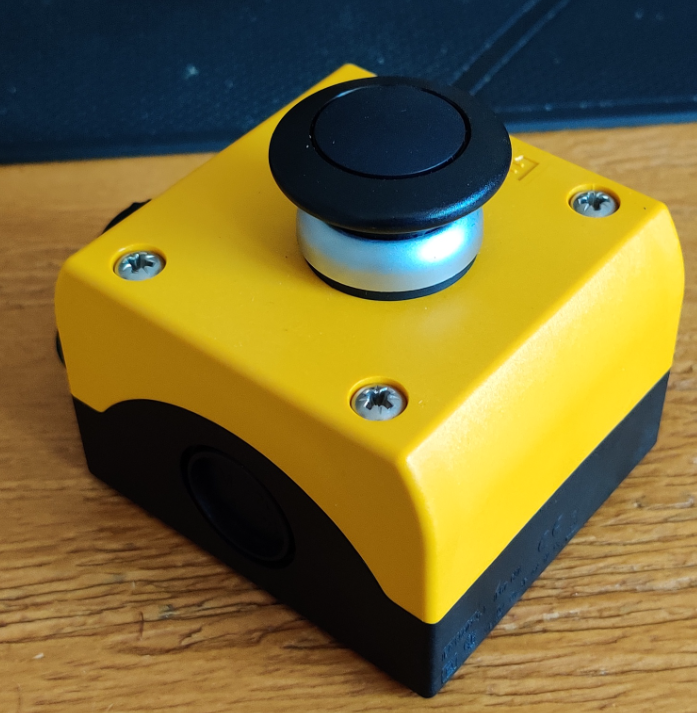
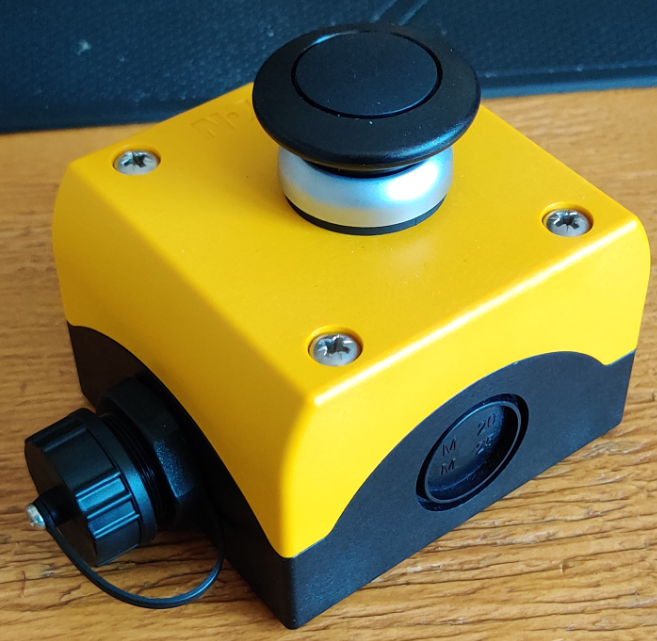
Well, when from a finished project some EMO (EMergency Off) buttons were left over I really wanted to built my big Red Button of Doom.
Idea: Use an Arduino Pro Micro (atmega32u4) as controller, an 8-pole dip switch, some resistor array and 1 of the contact blocks (NO - normally open) within the EMO button.
The arduino pick was simple, I have plenty laying around and this model can act like a normal USB keyboard. Therefore it doesn’t require any software installation later when using the button on a computer (could then even use it on the company laptop which doesn’t allow for software installs
). The EMO button is normally a latching one (it stays pressed till you release it again) but for this type is also easily switchable to a momentary button which is closer to a real keyboard button.
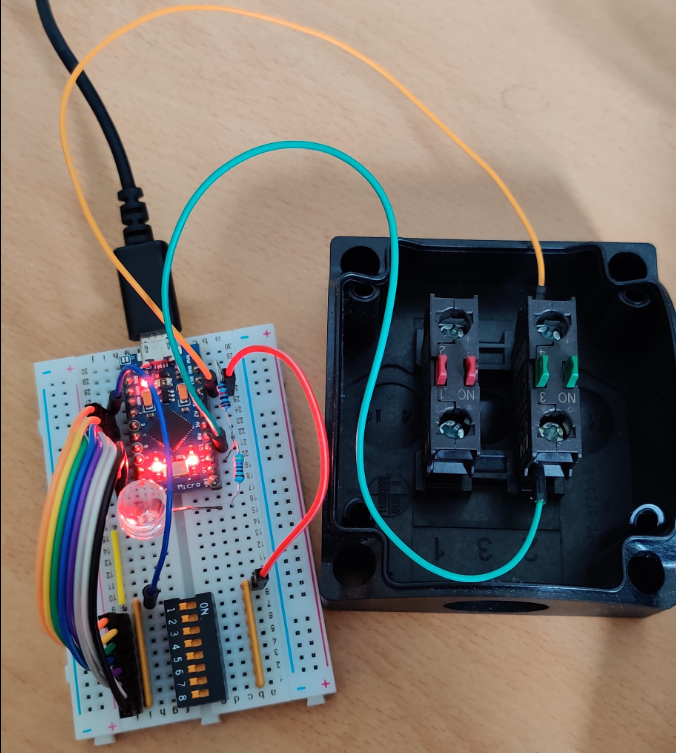
First proto on a simple breadboard and everything hooked up, time to start thinking about the arduino code. I could just copy paste the entire code here but meh, not very fun to read (if anyone is interested I can always add or DM the code).
In principle what my code does, at first starting up and connecting to the host computer as a keyboard. At the same time I have a serial port starting which sometimes comes in handy to see how the button press behaves (double press, keyboard spamming that nothing is pressed etc etc etc…).
For the main program, I'm basically polling the button input pin and comparing it to the previous state. As long as the previous state and current state are equal the code will just ignore it. When the previous and current state are different it will continue in the code.
| Previous State | Current State | Interpretation |
| LOW | HIGH | Button Pressed |
| HIGH | LOW | Button Released |
When “Button Pressed” the code will read the DIP settings for what action to execute. Having 8 DIP switches present with 2 options each (ON / OFF) we will have a total of 256 possible actions. So the DIP counter will return a value between 0 and 255, this value will be fed into a switch-statement which defines which action the code will take based on that DIP counter value. Working with switch-statements gives me the possibility to have single actions but also have loops in there to have certain actions repeated till I release the button again.
For example, the value “0” is my programming state. I want to be able to connect the arduino as a keyboard to my computer but I don’t want it spamming around. For another case it will open the global chat in bf4. I'm still trying to figure out timings so I will be able to actually “type” something in the chat. An example of a loop is sort of a click/type bot for runescape skilling which keeps pressing certain buttons till the button is released again.
After the action has been completed the already red current button state is archived as the previous state and the whole main program starts all over again.
With the software done it’s now time to build everything into the EMO button box so that it also looks like a real button.
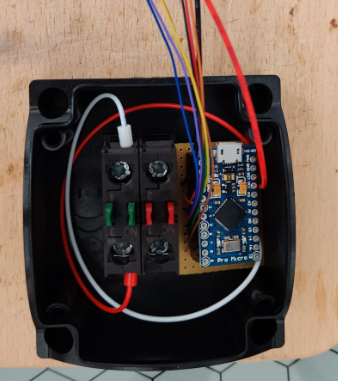
A small pcb for the arduino and all wires to hook up the DIP switches and Button itself.
First test fit into the EMO box
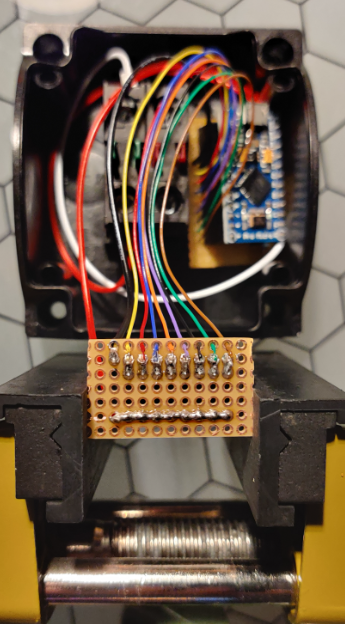
Built also a small pcb for the DIP switches and connected all the wires from the Arduino board to it.
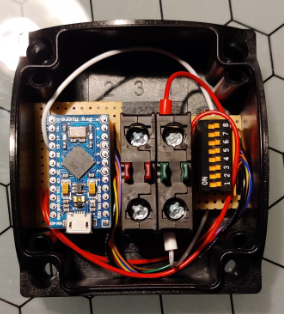
Testfit with everything in the EMO box, only missing the USB passthrough.
Drill a hole for the USB passthrough and close the whole thing up and done.
The black button on top is quite handy, it is able to act as a momentary switch as well as a latching one with the flick or a switch internally.
Still to do, program way more actions into it. Both for fun as well as work actions in the future.